In dieser Anleitung erfahrt ihr, wie ihr einen OpenVPN Server unter Debian 11 erstellen könnt. Ganz ohne Docker oder sonstigen Hilfsmitteln. Um uns die Arbeit zu erleichtern, verwenden dir das Installationsskript von angristan.
1. Skript downloaden
Zuerst laden wir uns das Skript herunter. Dazu gebt ihr folgendes ein:
cd /tmp
wget https://raw.githubusercontent.com/Angristan/OpenVPN-install/master/openvpn-install.sh
chmod +x openvpn-install.shCode-Sprache: JavaScript (javascript)
2. Skript starten
Nach dem Download können wir das Skript starten. Dazu gebt ihr folgendes ein:
./openvpn-install.shJetzt solltest du folgenden Dialog sehen. Es ist immer bereits eine Vorauswahl getroffen, welche ihr einfach mit ENTER bestätigen könnt.
Welcome to the OpenVPN installer!
The git repository is available at: https://github.com/angristan/openvpn-install

I need to ask you a few questions before starting the setup.
You can leave the default options and just press enter if you are ok with them.

I need to know the IPv4 address of the network interface you want OpenVPN listening to.
Unless your server is behind NAT, it should be your public IPv4 address.
IP address: 202.xx.xx.xx

Checking for IPv6 connectivity...

Your host appears to have IPv6 connectivity.

Do you want to enable IPv6 support (NAT)? [y/n]: yn

What port do you want OpenVPN to listen to?
   1) Default: 1194
   2) Custom
   3) Random [49152-65535]
Port choice [1-3]: 1

What protocol do you want OpenVPN to use?
UDP is faster. Unless it is not available, you shouldn't use TCP.
   1) UDP
   2) TCP
Protocol [1-2]: 1

What DNS resolvers do you want to use with the VPN?
   1) Current system resolvers (from /etc/resolv.conf)
   2) Self-hosted DNS Resolver (Unbound)
   3) Cloudflare (Anycast: worldwide)
   4) Quad9 (Anycast: worldwide)
   5) Quad9 uncensored (Anycast: worldwide)
   6) FDN (France)
   7) DNS.WATCH (Germany)
   8) OpenDNS (Anycast: worldwide)
   9) Google (Anycast: worldwide)
   10) Yandex Basic (Russia)
   11) AdGuard DNS (Anycast: worldwide)
   12) NextDNS (Anycast: worldwide)
   13) Custom
DNS [1-12]: 11

Do you want to use compression? It is not recommended since the VORACLE attack makes use of it.
Enable compression? [y/n]: n

Do you want to customize encryption settings?
Unless you know what you're doing, you should stick with the default parameters provided by the script.
Note that whatever you choose, all the choices presented in the script are safe. (Unlike OpenVPN's defaults)
See https://github.com/angristan/openvpn-install#security-and-encryption to learn more.

Customize encryption settings? [y/n]: n

Okay, that was all I needed. We are ready to setup your OpenVPN server now.
You will be able to generate a client at the end of the installation.

..
..
..


Tell me a name for the client.
The name must consist of alphanumeric character. It may also include an underscore or a dash.
Client name: goneuland

Do you want to protect the configuration file with a password?
(e.g. encrypt the private key with a password)
   1) Add a passwordless client
   2) Use a password for the client
Select an option [1-2]: 1
Jetzt habt ihr OpenVPN installiert sowie einen Client erstellt.
3. ovpn Datei herunterladen
Bei mir liegt die Datei in folgendem Verzeichnis:
Client goneuland added.

The configuration file has been written to /root/goneuland.ovpn.
Download the .ovpn file and import it in your OpenVPN client.Code-Sprache: JavaScript (javascript)
Ihr könnt euch jetzt beispielsweise das Programm WinSCP herunterladen, damit ihr die ovpn Datei auf euren PC kopieren könnt.
4. Mit OpenVPN Server verbinden
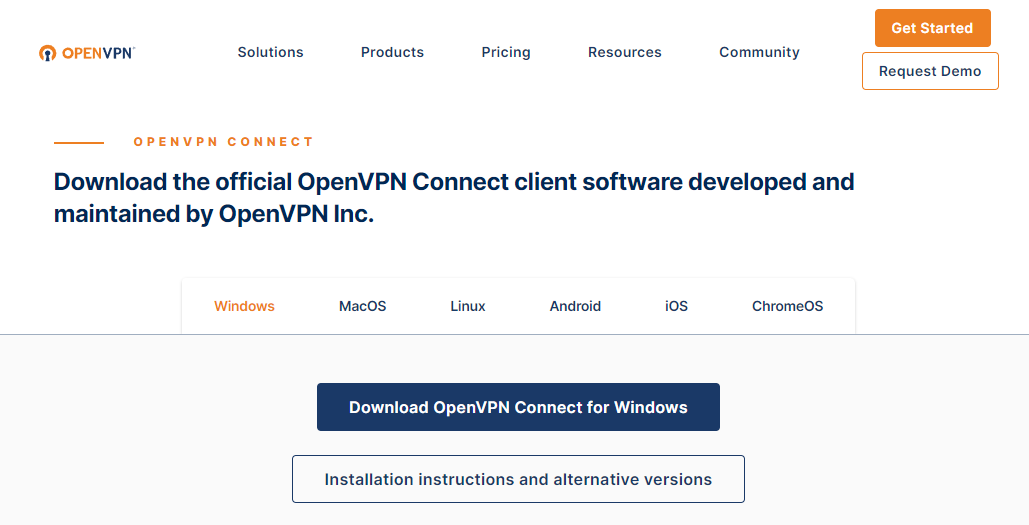
Dazu könnt ihr euch den kostenlosen OpenVPN Client direkt beim Hersteller herunterladen. Dieser wird für Windows / MacOS / Linux / Android und iOS angeboten.

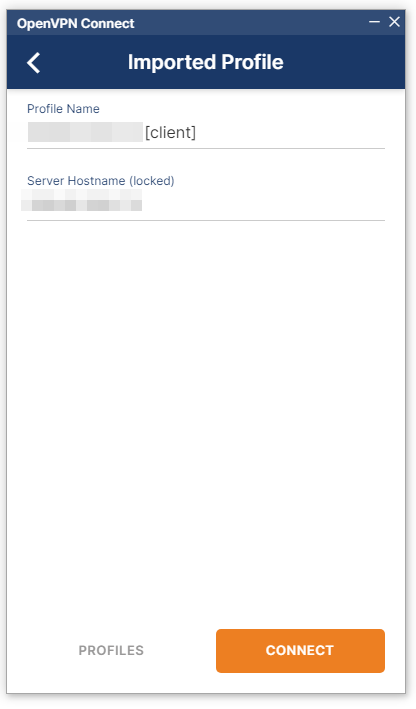
Im Client wählt ihr dann den Reiter “File” aus.

Jetzt bekommt ihr den Profilnamen / Servernamen angezeigt. Hier könnt ihr einfach auf “Connect” klicken.

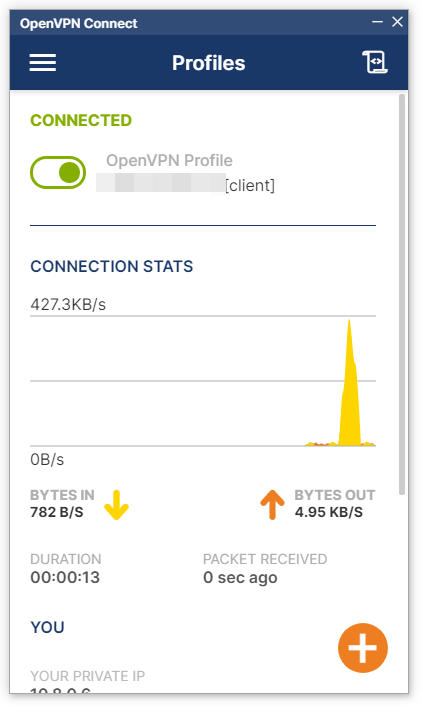
Jetzt seid ihr auch schon mit eurem eigenen OpenVPN Server verbunden.

5. weitere Clients hinzufügen / löschen
Um weitere Clients hinzuzufügen oder zu löschen, startet ihr das Skript einfach erneut:
/tmp/openvpn-install.shNun habt ihr folgende Auswahl:
Welcome to OpenVPN-install!
The git repository is available at: https://github.com/angristan/openvpn-install

It looks like OpenVPN is already installed.

What do you want to do?
   1) Add a new user
   2) Revoke existing user
   3) Remove OpenVPN
   4) ExitCode-Sprache: PHP (php)